
You bought the chisels. Watched three YouTube tutorials. Maybe even cleared a corner of your garage. But that first cut still feels like stepping off a cliff. And honestly—most “beginner” guides skip the real hurdles: warped wood, confusing joinery, tools that cost more than your weekend budget. Here’s the truth: you don’t need perfection. You need smart starts. Let’s fix that.
Why Most Beginner Woodworking Projects Fail Before They Begin
It’s not about talent. It’s about mismatched expectations. Too many beginners jump into dovetails or live-edge tables after seeing Instagram reels. The result? Frustration, wasted lumber, and a dusty workshop. Real progress starts with projects that teach foundational skills without demanding mastery. Think clamping, squaring, and clean cuts—not flawless furniture.
And here’s the kicker: cheap kits often use plywood so thin it splinters on contact. So you blame yourself when the grain fights back. Don’t. Material choice matters more than method—at this stage.
Woodworking Projects Ideas for Beginners: Your No-Nonsense Starter Path
Start small. Finish fast. Learn as you go. Below is a curated progression—not based on aesthetics, but on skill stacking. Each project builds directly on the last.
| Project | Skills Learned | Avg. Cost (USD) | Time Required |
|---|---|---|---|
| Simple Wooden Coaster Set | Measuring, sanding, finishing | $8–$15 | 1–2 hours |
| Wall-Mounted Key Holder | Drilling pilot holes, basic joinery, mounting | $12–$20 | 2–3 hours |
| Floating Shelf (Single Board) | Squaring edges, pocket-hole technique, weight testing | $25–$40 | 4–6 hours |
| Small Step Stool | Angled cuts, structural support, glue-up timing | $35–$60 | 1–2 weekends |
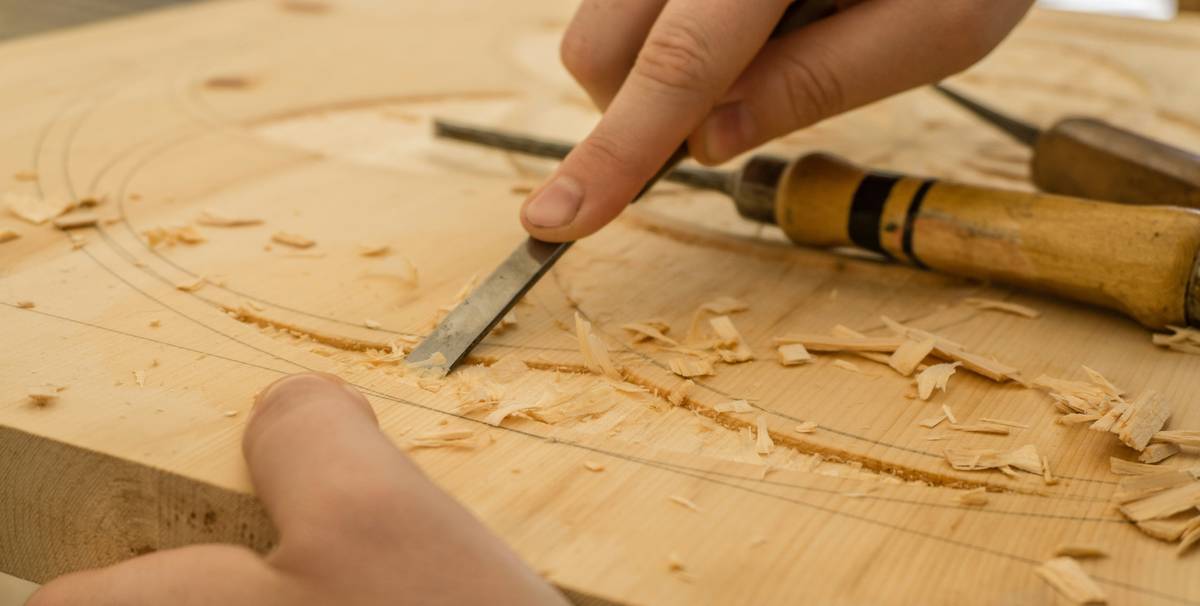
Tool Minimalism Wins
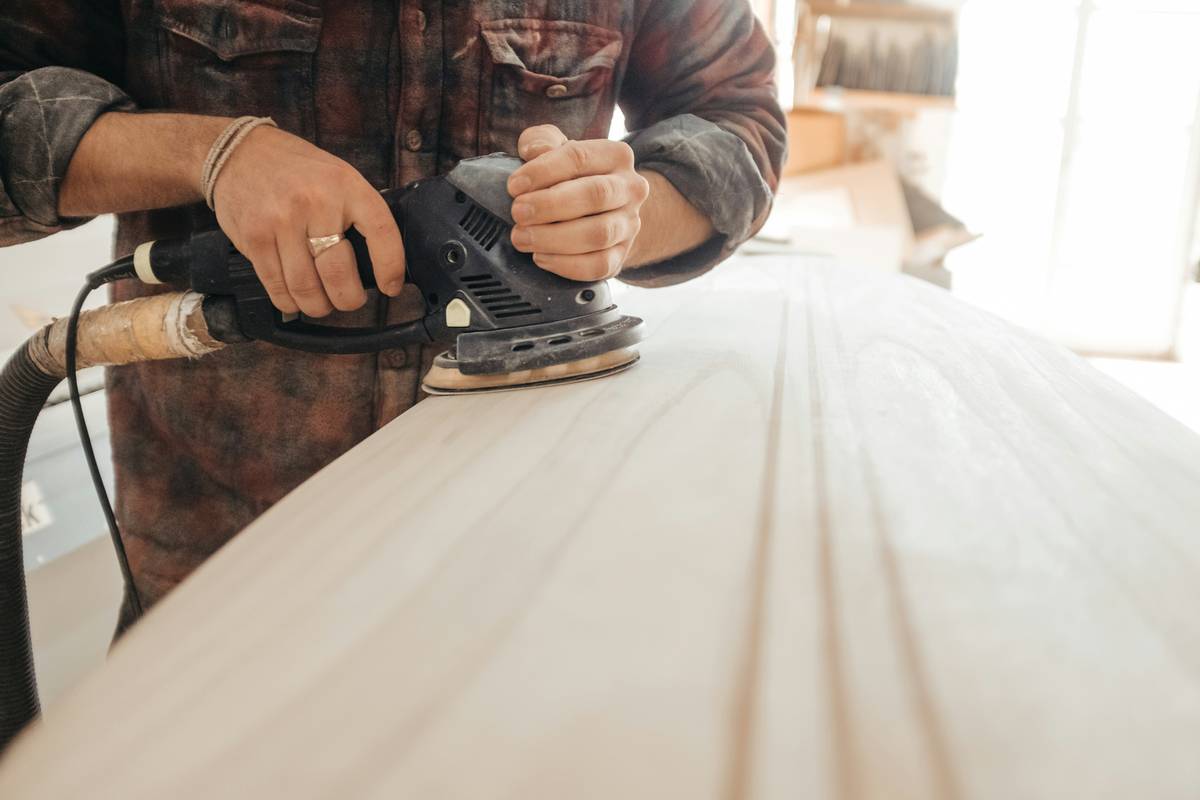
You don’t need a $500 table saw. A Japanese pull saw, a decent tape measure, a speed square, and a random-orbit sander cover 90% of early needs. Borrow or rent power tools until you’ve confirmed your commitment.
Wood Selection Strategy
Pine is forgiving—but avoid “whitewood” from big-box stores. It’s often dried poorly and warps fast. Look for kiln-dried poplar or select pine labeled “clear” (fewer knots). Better yet: hit local lumber yards. They’ll often sell cutoffs for pennies.
Mindset Over Mastery
Your first shelf will sag slightly. Your coaster might be 0.5mm uneven. That’s data—not failure. Document every build with notes: “Glue cured in 45 mins, not 60,” or “Sanded with 120 then 220—skip 180 next time.” This turns mistakes into repeatable wins.
The Industry Secret Nobody Talks About
Most woodworking content ignores the emotional friction of “starting ugly.” Pros don’t begin with gallery pieces—they churn out shop jigs, drawer dividers, and tool organizers no one sees. These are low-stakes labs for technique. So your real first project? Build a clamp rack. Then a miter gauge stop block. Functional scraps teach precision without performance pressure. Hide them in your garage if you must—but make them. The math is simple: volume beats virality every time.
Frequently Asked Questions
What’s the easiest wood for beginners to work with?
Pine and poplar are soft, affordable, and widely available. Avoid oak or maple until you’ve practiced tear-out control—they’re unforgiving on first cuts.
Do I need a dedicated workshop to start?
No. A garage bay, balcony, or even a sturdy folding table works. Just ensure good lighting, ventilation for finishes, and a way to clamp your work securely.
How do I avoid wasting wood on failed projects?
Practice cuts on scrap first. Buy extra material (10–15% more than the plan calls for). And repurpose mistakes—odd offcuts become shelf brackets or drawer stops.